


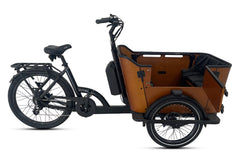


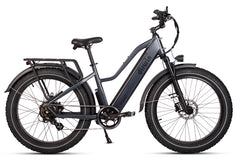












First-Generation Manuals: Seeker, Original Pioneer & Pacer
Discontinued models. This page covers the first-generation Seeker, Pioneer and Pacer, which use a display remote with "M", "UP" and "DOWN" buttons. Riding the current Pioneer? Use the Pioneer manual. Not your bike? See all manuals.
Quick start
After the bike has been properly assembled following the unboxing video and all components are secured correctly, start up the bike and select the power level by following the steps below.
- Hold down the "M" button on the display remote (located on the left side of the handlebars) for 2 seconds then release. The display should turn on.
- Select your desired level of pedal assistance between level 0 and 5 using the "UP" and "DOWN" arrows on the display remote.
- Level 1 is the lowest level of pedal assistance, and level 5 is the highest.
- Level 0 means pedal assistance is inactive.
- To turn on the headlight once the LCD display is on, hold down the "UP" button located on the left side of the handlebars for 3 seconds.
- Press and hold the "DOWN" and "M" keys at the same time for 2 seconds to reset the Trip Meter to zero.
- You are now ready to start riding your Dirwin Bike. Start by pedaling in the appropriate drivetrain gear with or without pedal assistance. You may also use the throttle to accelerate and maintain your desired speed.
Videos
Pioneer assembly
Pacer assembly
Manuals and downloads
Parts and accessories
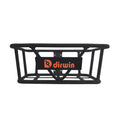
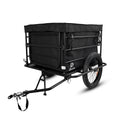
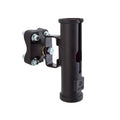
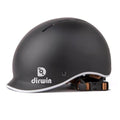
Need a replacement part or want to add gear? Check each product page for compatibility with your bike.
Warranty and support
Every Dirwin e-bike is covered by a 2-year warranty: 12 months included, plus a free 12-month extension when you register your bike on our site.